
To create a brand kit, you save your logo, your colours in a set order, and your fonts in one place, with a short note on how your brand talks. In thirds.ai you open Brand kits and either type your website address, so it finds your logo and colours for you, or click Create a brand kit and add each part yourself. Making a kit is free. Once it's saved, you pick the kit in the editor or in the AI chat, and every PDF and image you make comes out in your brand.


Read the setup prompt
First read https://thirds.ai/blog/how-to-build-a-brand-kit, https://thirds.ai/docs/mcp, and the setup guide for ChatGPT or Claude, whichever I use. Guide me through the connection controls and browser sign-in. Never ask me to paste an API key into chat. Create my brand kit. Ask for my website or logo, exact colours, fonts, and a short note on how my brand talks. Show the kit for review before saving and try it on an Event promo. Before spending credits, tell me the cost and wait for my approval.
thirds.ai turns one saved design into finished PDFs and images that look like a studio made them. You pick a design for your invoice, certificate, social post, or ad, and then get each new file from the studio or by asking ChatGPT or Claude in plain words. The brand kit is how your logo, colours, and fonts get onto every one of those files. Nobody on your team has to look up a colour code or hunt for the right logo again.
Read the transcript
Here’s how to create a brand kit... your logo, your colours, and your fonts in one place, so the next poster stops coming out in a slightly different teal.
The quick way starts with your website. Type your address into Brand kits, click Import brand, and a few seconds later your logo, your colours, and your name are already there. Fix anything that’s off, then click Save brand kit.
No website? Click Create a brand kit, and give it a name, a line on how your brand talks, and your colours. Then add your logo and a font... your own, or a built-in one.
Now try it on a real design. Open the Event promo and click Edit in the editor. Pick your kit in the Brand kit box. One pick, and the colours, the font, and the logo all change together. Then type your event’s details on the Data tab, and export your finished PNG.
Working from code? Send brand kit ID with your image or PDF request, and the file comes back in that brand.
The next workshop, a course poster, your opening hours, a gift voucher... every one starts in your brand, because you set it once. No more hunting for the right teal.
Making a kit is free, so go and create yours at thirds.ai.
Why a brand kit pays off
A brand kit pays off because it turns your brand rules into something a design can read on its own. Most companies have brand guidelines, but a guideline is a document, and it only works when someone opens it and looks up the right blue. A kit does that for every file without anyone checking.
The gap between having rules and following them is big. In Marq's survey of more than 400 brand managers, 85% said their company had brand guidelines, but only 30% said the guidelines were enforced. The same managers estimated that keeping the brand consistent lifts revenue by 10 to 20% (Marq, brand consistency article, updated 2024, read on 2 October 2026). Those are the vendor's own survey figures, so take them as a sign of the direction. Consistent files look like one company, and one company is easier to trust and remember than five slightly different ones.
For a small team, the practical win is time. The designer sets the brand once, and every file after that comes out right without a check. An agency makes one kit per client, so each client's files come out in that client's logo and colours.
What should a brand kit include?
A brand kit needs five parts: a name, your brand colours in a set order, your logo, your fonts, and a short note on your tone of voice. Those five are what a design needs to look like your brand every time.
| Part | What thirds.ai takes |
|---|---|
| Name | Your brand or client name. Designs can print it. |
| Tone of voice | One or two sentences on how the brand talks. The AI chat reads it when it writes a draft. |
| Colours | Hex codes such as #1d4ed8. The first three are your primary, secondary, and accent colours. |
| Logo | A PNG, JPEG, or WebP file. Use PNG or WebP when the logo needs a see-through background. |
| Fonts | Your own font as a WOFF2 file, or one of the built-in fonts such as Inter or Space Grotesk. |
Use one kit for each brand or client you work for.
The colour order is the part people get wrong. Designs read the first colour as the main one, the second as its partner, and the third as the highlight for buttons and badges. Put them in that order once, and every design agrees on which colour goes where.
This event image is the kind of design that reads a kit. Open it with your kit picked, and it comes out in your colours, your font, and your logo.

How to make it
The quickest way is to let thirds.ai read your brand from your website, then fix anything it got wrong. You can also build the kit by hand, or ask ChatGPT or Claude to set it up for you. All three give you the same saved kit.
Here's the website way.
- Sign in and open Brand kits. Under Import your brand from your website, type your website address.
- After a few seconds you see your logo, your colours with their roles, and your business name. Fix anything it got wrong.
- Click Save brand kit.
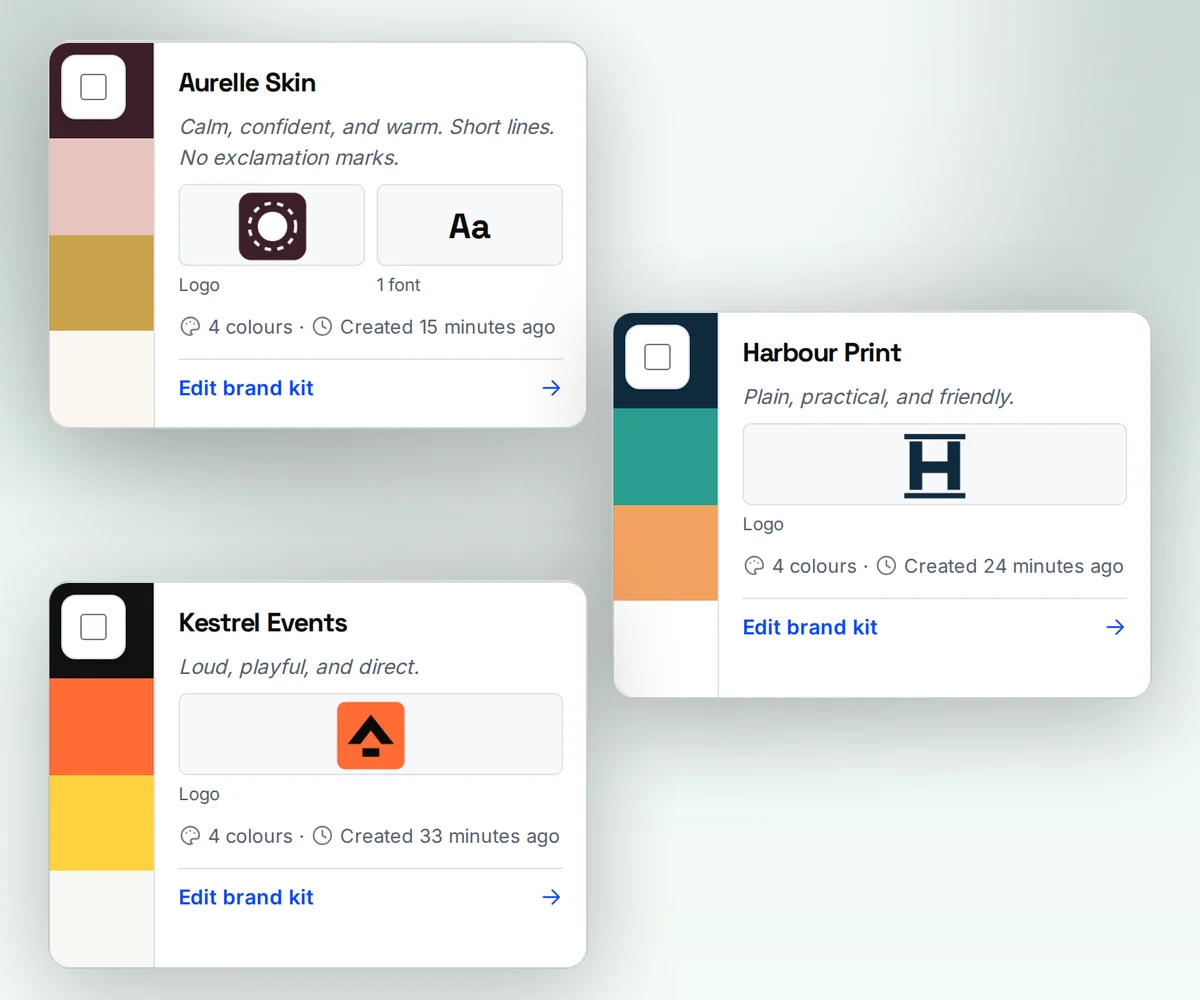
To build the kit by hand, click Create a brand kit instead. Give it a name, write one or two sentences on how the brand talks, such as "Plain and warm. Short sentences. No jargon.", and pick your colours in order with the colour picker. Then open the kit, click Add a logo, and choose your largest clean logo file. If your logo is an SVG, export a PNG from your design app first. Click Upload a font for your own WOFF2 file, or pick a built-in font from the Fonts list and click Use.
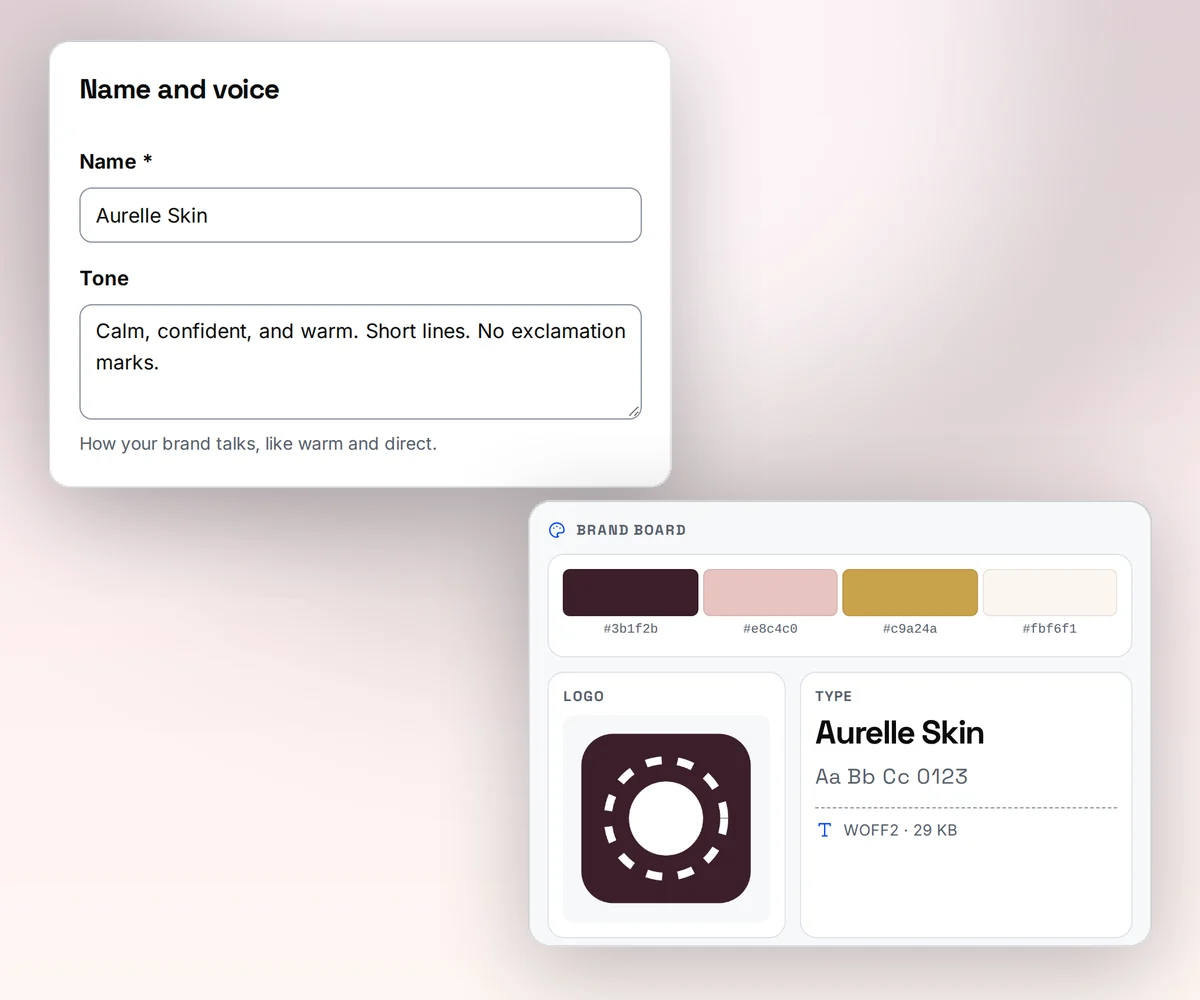
If you work in ChatGPT or Claude, connect thirds.ai first. Give the assistant your logo file and your colour codes, and ask it to create your brand kit. From then on, ask it for any file in plain words, and it uses the kit.
Now try the kit on a real design. Open the Event promo template and click Use this template. Pick your kit in the Brand kit box, then open the Data tab and type your event's title, date, and time. Click Export, choose PNG, and open the file to see your colours and logo on it. Click Save when it looks right, and every event image you make from this design comes out in your brand. If a design has its own fixed colours, pick your kit in the AI chat and ask it to apply the kit, and it changes the design for you. How to make a template you can reuse walks through the rest of the editor.
Set it up so every design agrees
A few habits make your first designs come out right without extra fixes.
- Upload the logo that sits on a light background first. Designs use the first logo unless you say otherwise.
- Write the tone of voice the way you'd brief a person. "Friendly, short, no exclamation marks" works better than a list of brand values.
- Archive a kit you no longer use, and it stays out of your lists but keeps its files.
When you change a kit, only the files you make next use the new colours, logo, or fonts. The PDFs and images you already made stay as they are.
Once the kit is in place, use it everywhere you make files. A social image workflow gives each client the same layout in their own brand, and an app team can post from one kit every day with these TikTok slideshow ideas for app marketing. For a wider look at tools that make repeat images, the ranked list of Bannerbear alternatives compares eight of them.
Use the kit from your own code
Developers send brand_kit_id with a PDF or image request, and the saved template gets the kit's colours, logo, and fonts. This overrides the default kit the editor saved with the template.
curl --fail-with-body --silent --show-error https://thirds.ai/v1/pdf \
  -H 'Authorization: Bearer YOUR_API_KEY' \
  -H 'Content-Type: application/json' \
  -H 'Idempotency-Key: YOUR_UNIQUE_PDF_REQUEST' \
--data '{"template_id":"tpl_00000000000000000000000000000000","version":1,"brand_kit_id":"kit_00000000000000000000000000000000","data":{"title":"Quarterly report"}}'const response = await fetch("https://thirds.ai/v1/pdf", {
method: "POST",
headers: {
"Authorization": "Bearer YOUR_API_KEY",
"Content-Type": "application/json",
"Idempotency-Key": "YOUR_UNIQUE_PDF_REQUEST"
},
body: JSON.stringify({
"template_id": "tpl_00000000000000000000000000000000",
"version": 1,
"brand_kit_id": "kit_00000000000000000000000000000000",
"data": {
"title": "Quarterly report"
}
}),
redirect: "error",
signal: AbortSignal.timeout(30000),
});
if (!response.ok) throw new Error(`HTTP ${response.status}; Retry-After: ${response.headers.get("retry-after") ?? "none"}`);
console.log(await response.text());import json
from urllib.error import HTTPError
from urllib.request import HTTPRedirectHandler, Request, build_opener
class NoRedirect(HTTPRedirectHandler):
def redirect_request(self, req, fp, code, msg, headers, newurl):
return None
request = Request("https://thirds.ai/v1/pdf",
method="POST",
headers={
"Authorization": "Bearer YOUR_API_KEY",
"Content-Type": "application/json",
"Idempotency-Key": "YOUR_UNIQUE_PDF_REQUEST"
},
data=json.dumps({
"template_id": "tpl_00000000000000000000000000000000",
"version": 1,
"brand_kit_id": "kit_00000000000000000000000000000000",
"data": {
"title": "Quarterly report"
}
}).encode("utf-8"),
)
try:
with build_opener(NoRedirect()).open(request, timeout=30) as response:
print(response.read().decode("utf-8"))
except HTTPError as error:
retry = error.headers.get("Retry-After", "none")
raise RuntimeError(f"HTTP {error.code}; Retry-After: {retry}") from NoneReplace both sample IDs with your own, and send the fields your template's schema requires. The same brand_kit_id field works on POST /v1/image. A template reads the kit through the reserved brand value, with brand.colours.primary, brand.logo, and brand.fonts[0] for the font-face rule, so your own data must not use a brand key. Use templates with your data lists every brand field and shows the font-face rule. An AI agent can also create and update kits once you connect it to the thirds.ai MCP server.
Read next
- Write a prompt for an editable template.
- Make a UK business card PDF for each person on your team in the same logo and colours.
- The brand kits page shows one brand applied to a document and an image.
- Create branded templates for PDFs and images introduces every way to start.
Open Brand kits and type your website address. Your logo and colours are ready to use in a few seconds.


